DIY Elegant Air Dry Clay Coasters: A Touch of Handmade Charm
In the world of home decor, few items combine functionality and style as seamlessly as handmade coasters. Air dry clay coasters, in particular, offer a perfect blend of practicality and artistic expression. These charming accessories not only protect your surfaces from water rings but also serve as miniature canvases for your creativity.
Creating your own air dry clay coasters comes with numerous benefits:
- Personalization: Tailor the design to match your home’s aesthetic perfectly.
- Cost-effective: Make multiple sets for less than the price of store-bought designer coasters.
- Therapeutic: The process of molding and decorating clay can be incredibly relaxing.
- Eco-friendly: Choose natural materials and avoid excess packaging.
- Gift-worthy: Create unique, heartfelt presents for friends and family.
What You’ll Need
Materials:
- Air dry clay (white or colored)
- Acrylic paint (optional)
- Metallic paint or gold leaf (for edging)
- Clear sealant spray
- Felt pads (for the bottom of coasters)
Tools:
- Rolling pin
- Knife or clay cutter
- Cookie cutters or a circular object to trace
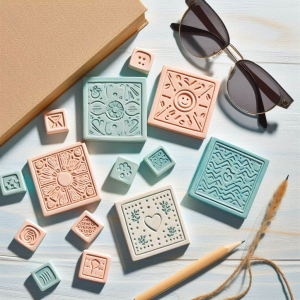
- Leaves, stamps, or textured items for imprinting
- Sandpaper (fine grit)
- Paintbrushes
- Wax paper or a non-stick craft mat
[product_bundle ids=”253,398″]
Examples to Create
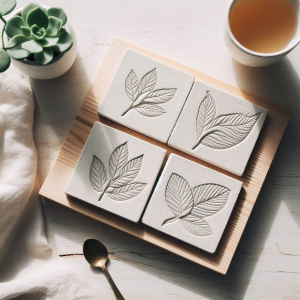
1. Leaf-imprinted Coasters
Create nature-inspired coasters by pressing real leaves into the clay:
- Roll out the clay to about 1/4 inch thickness.
- Gently press a leaf onto the clay, vein-side down.
- Carefully remove the leaf and cut around the impression with a circular cutter.
- Allow to dry completely before sealing.
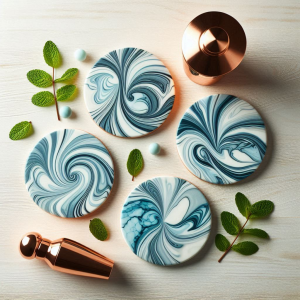
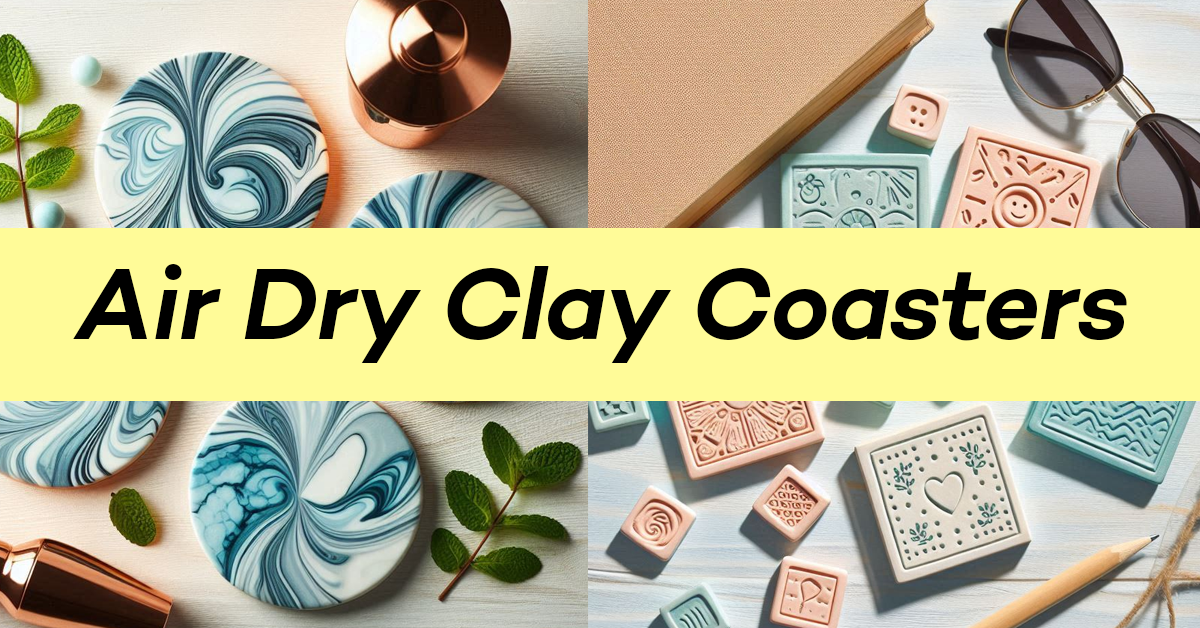
2. Marbled Clay Coasters
Achieve a stunning marbled effect with multiple clay colors:
- Take small portions of different colored clays.
- Gently knead them together, being careful not to overmix.
- Roll out the marbled clay and cut into circles.
- Smooth edges and allow to dry before sealing.
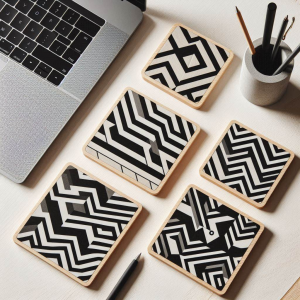
3. Geometric Pattern Coasters
Create modern, eye-catching designs with simple geometric shapes:
- Roll out white clay and cut into circles.
- Use cookie cutters or hand-cut shapes like triangles or squares from contrasting colored clay.
- Arrange and gently press the shapes onto the base circles.
- Allow to dry and seal for a sleek finish.

4. Gold-edged Coasters
Add a touch of luxury with gilded edges:
- Create coasters using any of the above methods.
- Once dry, carefully paint the edges with gold metallic paint or apply gold leaf.
- Seal the entire coaster for a polished look.
5. Stamped Message Coasters
Personalize your coasters with words or phrases:
- Roll out and cut clay circles.
- Use letter stamps to impress words like “sip”, “cheers”, or custom messages.
- Consider filling stamped letters with metallic paint for extra pop.
- Dry thoroughly and seal to preserve the design.
Remember to allow your coasters to dry completely (usually 24-48 hours) before applying sealant. Once sealed and dry, attach felt pads to the bottom to protect your surfaces.
With these creative ideas, you’re well on your way to crafting beautiful, one-of-a-kind coasters that will add a personal touch to your home or make wonderful gifts. Happy crafting!